At some times when you are working with Git, it happens to undo some commits like the last commit from your repository because of changes performed by you at the time of issuing the commit. In order to undo the last commit from your Git Repository, we have compiled many ways in this tutorial. This tutorial will easily help you undo the last commit in git using a few git commands like revert, checkout, reset, etc.
- How do you see the last commit?
- Undo Last Git Commit with reset
- Hard Reset Git commit
- Mixed reset Git commit
- Undo Last Commit with revert
- How to undo a commit with git checkout
How do you see the last commit?
To test a specific commit, you need the hash. To get the hash you can run git log, then you can notice this output:
root@debian:/home/debian/test-project# git log
commit <last commit hash>
Author: Isabel Costa <example@email.com>
Date: Sun Feb 4 21:57:40 2018 +0000

<commit message>

commit <before last commit hash>
Author: Isabel Costa <example@email.com>
Date: Sun Feb 4 21:42:26 2018 +0000

<commit message>

(...)
You can also run git log –oneline to explain the output:
root@debian:/home/debian/test-project# git log --oneline
<last commit hash> <commit message>
cdb76bf Added another feature
d425161 Added one feature

(...)
To test a specific commit (e.g.: <before last commit hash>), that you think has the last working version, you can type the following command:
git checkout <commit hash>
This will make the working repository match the state of this exact commit.
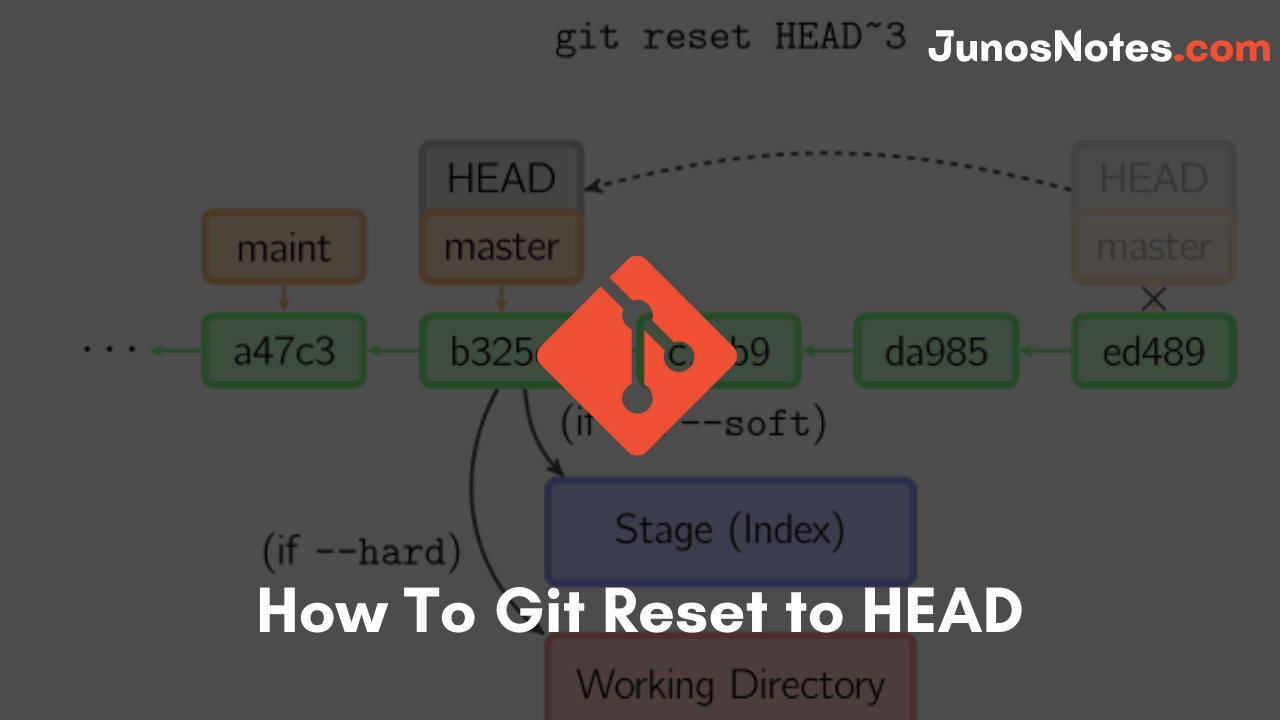
- How To Git Reset to HEAD | What is Git HEAD? | How to Reset Git Head to Latest Commit
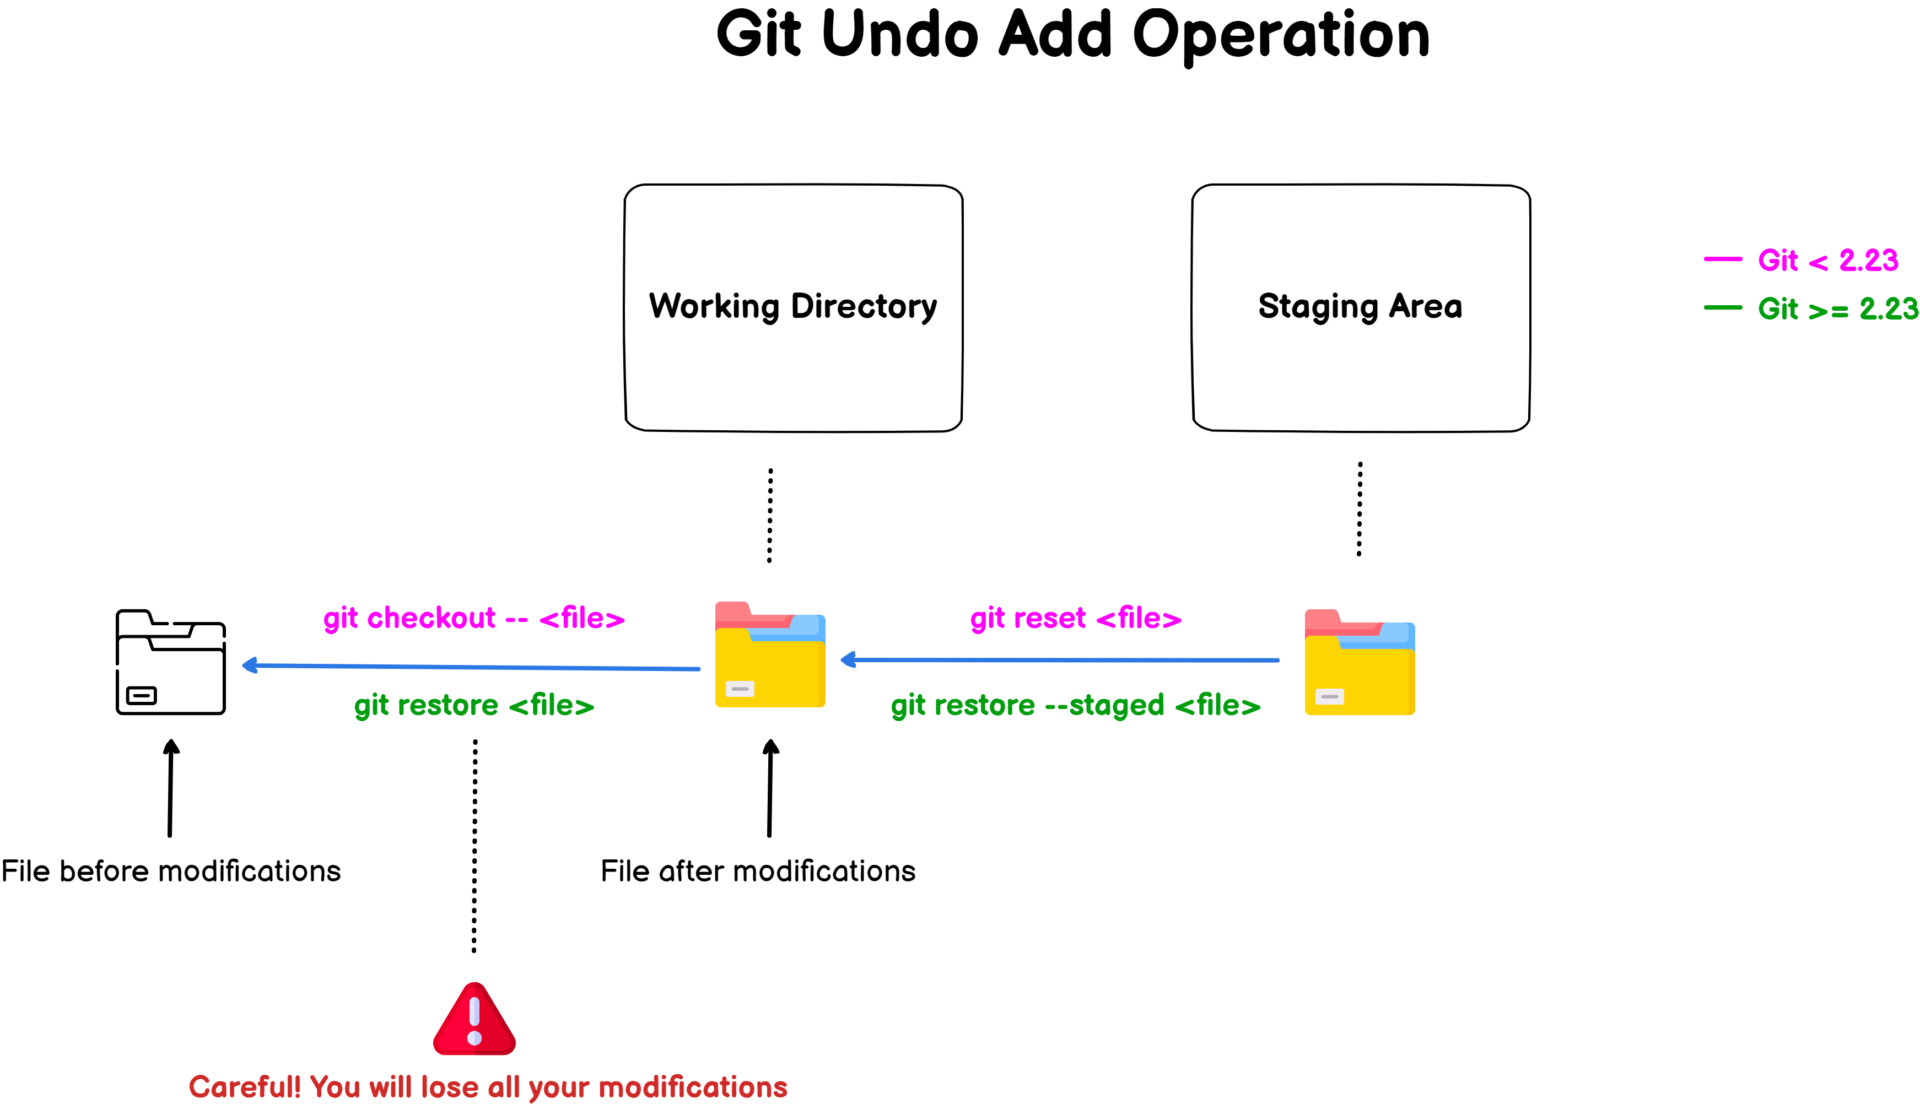
- How To Undo Git Add Command | Git undo Add Operation | How to Undo Git Add before Commit?
- How To Create a Git Branch | Learn Git Create New Branch from Current Branch
Once you are done with this command, you’ll get the following output:
root@debian:/home/debian/test-project# git checkout <commit hash>
Note: checking out '<commit hash>'.

You are in a 'detached HEAD' state. You can look around, make experimental changes and commit them, and you can discard any commits you make in this state without impacting any branches by performing another checkout.

If you want to create a new branch to retain commits you to create, you may do so (now or later) by using -b with the checkout command again. Example:

git checkout -b new_branch_name

HEAD is now at <commit hash>... <commit message>
After examining the particular commit, if you then decide to stay in that commit state, you can undo the last commit.
Undo Last Git Commit with reset
The easiest way to undo the last Git commit is to execute the “git reset” command with the “–soft” option that will preserve changes done to your files. You have to specify the commit to undo which is “HEAD~1” in this case.
The last commit will be removed from your Git history.
$ git reset --soft HEAD~1
If you are not familiar with this notation, “HEAD~1” means that you want to reset the HEAD (the last commit) to one commit before in the log history.
$ git log --oneline

3fad532  Last commit   (HEAD)
3bnaj03  Commit before HEAD   (HEAD~1)
vcn3ed5  Two commits before HEAD   (HEAD~2)
So what is the impact of this command?
The “git reset” command can be seen as the opposite of the “git add” command, essentially adding files to the Git index.
When specifying the “–soft” option, Git is instructed not to modify the files in the working directory or in the index at all.
As an example, let’s say that you have added two files in your most recent commit but you want to perform some modifications on this file.
$ git log --oneline --graph

* b734307 (HEAD -> master) Added a new file named "file1"
* 90f8bb1 Second commit
* 7083e29 Initial repository commit
As a consequence, you will use “git reset” with the “–soft” option in order to undo the last commit and perform additional modifications.
$ git reset --soft HEAD~1
$ git status
On branch master
Your branch is ahead of 'origin/master' by 1 commit.
(use "git push" to publish your local commits)
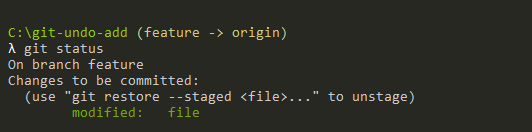
Changes to be committed:
(use "git restore --staged <file>..." to unstage)
new file: file1
$ git log --oneline --graph
* 90f8bb1 (HEAD -> master) Second commit
* 7083e29 Initial repository commit
As you can see, by undoing the last commit, the file is still in the index (changes to be committed) but the commit was removed.
Awesome, you have successfully undone the last Git commit on your repository.
Hard Reset Git commit
In the previous section, we have seen how you can easily undo the last commit by preserving the changes done to the files in the index.
In some cases, you simply want to get rid of the commit and the changes done to the files.
This is the purpose of the “–hard” option.
In order to undo the last commit and discard all changes in the working directory and index, execute the “git reset” command with the “–hard” option and specify the commit before HEAD (“HEAD~1”).
$ git reset --hard HEAD~1
Be careful when using “–hard”: changes will be removed from the working directory and from the index, you will lose all modifications.
Back to the example, we have detailed before, let’s say that you have committed a new file to your Git repository named “file1”.
$ git log --oneline --graph

* b734307 (HEAD -> master) Added a new file named "file1"
* 90f8bb1 Second commit
* 7083e29 Initial repository commit
Now, let’s pretend that you want to undo the last commit and discard all modifications.
$ git reset --hard HEAD~1

HEAD is now at 90f8bb1 Second commit
Great, let’s now see the state of our Git repository.
$ git status

On branch master
Your branch is up to date with origin/master
  (use "git push" to publish your local commits)

nothing to commit, working tree clean
As you can see, the file was completely removed from the Git repository (index + working directory)
Mixed reset Git commit
In order to undo the last Git commit, keep changes in the working directory but NOT in the index, you have to use the “git reset” command with the “–mixed” option. Next to this command, simply append “HEAD~1” for the last commit.
$ git reset --mixed HEAD~1
As an example, let’s say that we have added a file named “file1” in a commit that we need to undo.
$ git log --oneline --graph

* b734307 (HEAD -> master) Added a new file named "file1"
* 90f8bb1 Second commit
* 7083e29 Initial repository commit
To undo the last commit, we simply execute the “git reset” command with the “–mixed” option.
$ git reset --mixed HEAD~1
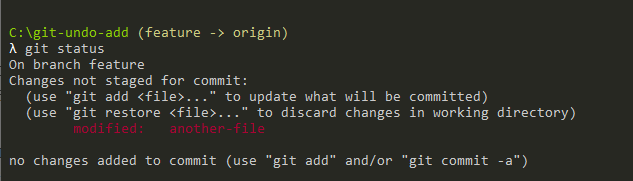
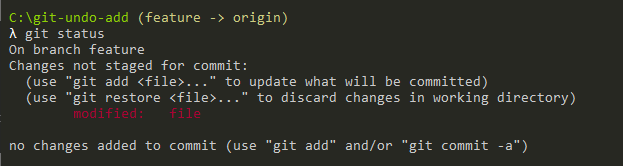
When specifying the “–mixed” option, the file will be removed from the Git index but not from the working directory.
As a consequence, the “–mixed” is a “mix” between the soft and the hard reset, hence its name.
$ git status
On branch master
Your branch is ahead of 'origin/master' by 1 commit.
(use "git push" to publish your local commits)
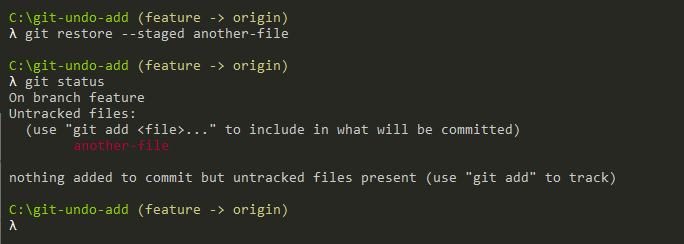
Untracked files:
(use "git add <file>..." to include in what will be committed)
file1
nothing added to commit but untracked files present (use "git add" to track)
Great! You found another way to revert the last commit while preserving changes done to files.
In the next section, we are going to see another way to revert the last commit using the git revert command.
Undo Last Commit with revert
In order to revert the last Git commit, use the “git revert” and specify the commit to be reverted which is “HEAD” for the last commit of your history.
$ git revert HEAD
The “git revert” command is slightly different from the “git reset” command because it will record a new commit with the changes introduced by reverting the last commit.
Note also that with “git reset” you specified “HEAD~1” because the reset command sets a new HEAD position while reverting actually reverts the commit specified.
As a consequence, you will have to commit the changes again for the files to be reverted and for the commit to be undone.
As a consequence, let’s say that you have committed a new file to your Git repository but you want to revert this commit.
$ git log --oneline --graph

* b734307 (HEAD -> master) Added a new file named "file1"
* 90f8bb1 Second commit
* 7083e29 Initial repository commit
When executing the “git revert” command, Git will automatically open your text editor in order to commit the changes.
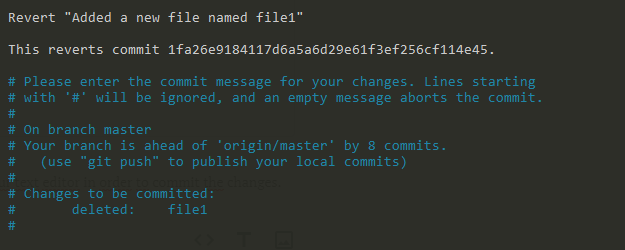
When you are done with the commit message, a message will be displayed with the new commit hash.
[master 2d40a2c] Revert "Added a new file named file1"
 1 file changed, 1 deletion(-)
 delete mode 100644 file1
Now if you were to inspect your Git history again, you would notice that a new commit was added in order to undo the last commit from your repository.
$ git log --oneline --graph

* 2d40a2c (HEAD -> master) Revert "Added a new file named file1"
* 1fa26e9 Added a new file named file1
* ee8b133 Second commit
* a3bdedf Initial commit
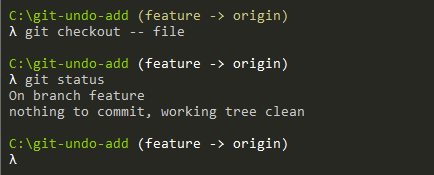
How to undo a commit with git checkout
With the help of the git checkout command, we can check out the previous commit, putting the repository in a state before the crazy commit occurred. Checking out a particular commit will set the repo in a “detached HEAD” state. This implies you are no longer working on any branch. In a detached state, any new commits you make will be orphaned when you change branches back to an established branch.
Orphaned commits are up for deletion by Git’s garbage collector. The garbage collector works on a configured interval and forever ruins orphaned commits. To stop orphaned commits from being garbage collected, we have to assure we are on a branch.
From the detached HEAD state, we can perform git checkout -b new_branch_without_crazy_commit. This will create a new branch named new_branch_without_crazy_commit and switch to that state. The repo is now on a new history timeline in which the 872fa7e commit no longer exists.
At this point, we can continue work on this new branch in which the 872fa7e commit no longer exists and consider it ‘undone’. Unfortunately, if you require the previous branch, maybe it was your main branch, this undo strategy is not relevant. Let’s look at some other ‘undo’ strategies.
Conclusion
In this tutorial, you have seen all the ways of undoing the last commit of your Git repository. Also, learnt about the “git reset” command and the different ways of executing it depending on what you want to keep or not.
Moreover, you have discovered the difference between the git reset and the git revert command, the latter adding a new commit in order to revert the one from your repository.
If you are curious about Git or about software engineering, we have a complete section dedicated to it on the website, so make sure to check it out!
If you like Git, you might like our other articles :