If you are a conscientious system administrator, you have probably already wondered how you can make your files secure.
Nowadays, as system attacks get more and more frequent, it isn’t probably a bad idea to think about encrypting your files.
On Linux, there are multiple of encrypting files, directories or filesystems : namely using the LUKS disk encryption specification or simple tools such as GnuPG.
In this tutorial, you will learn how you can easily encrypt files and directories on Linux using the GnuPG tool as well as the zip utility.
Encrypt Files using passphase protection
One of the easiest ways of encrypting a file on Linux is to use the “gpg” utility.
“gpg” is a simple utility that is part of the OpenPGP initiative that aims at providing easy methods to securely sign documents.
Files can be decrypted using two different methods : a password or a key file. In this section, we are going to focus on setting up a password protection for your encrypted files.
To encrypt files using a password, use the “gpg” command with the “-c” option specifying that you want to use a symmetric encryption for your file. After that, specify the name of the file that you want to encrypt.
$ gpg -c <file>
The “gpg” command will create a file with a “.gpg” extension which is the encrypted file that you want to store.

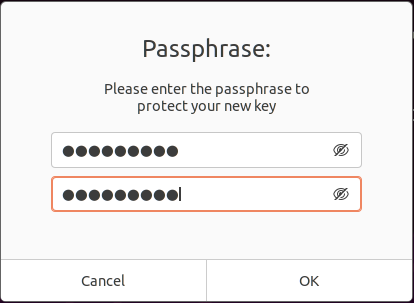
If you are running a Linux distribution with a graphical environment, you will be prompted with a window in order to specify the passphrase.
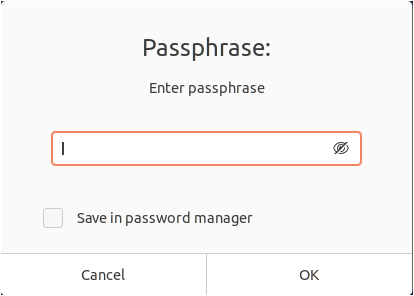
Note : make sure not to forget your passphrase. You won’t be able to recover the passphrase in any means.
- How To Setup SSH Keys on GitHub | How to Generate SSH Keys Windows & Linux?
- How To Generate Git SSH Keys | Process of Git Generate SSH Key on Windows, Linux, Mac
- Learn How to Extract a (Unzip) tar.xz File
Special tip : writing down your passphrase and storing it in a physical lock can be a solution.
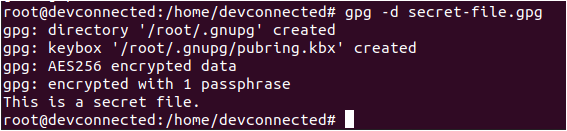
If you were to inspect the content of the file using a simple “cat “command, you would not be able to see the content.

Awesome, you successfully encrypted a file on Linux using “gpg”!
Decrypt Encrypted File on Linux
In order to decrypt an encrypted file on Linux, you have to use the “gpg” command with the “-d” option for “decrypt” and specify the “.gpg” file that you want to decrypt.
$ gpg -d <file>.gpg
Again, you will be probably be prompted with a window (or directly in the terminal) for the passphrase. If you provide the correct one, you will be able to see the content of your file.
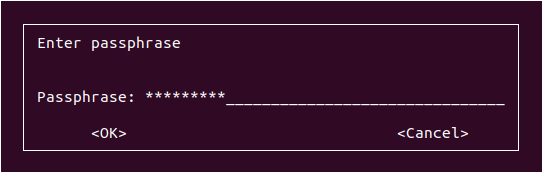
Note : if you were not prompted for the passphrase for the file, it is because the GPG utility will create a set of keys for you in your home directory when you unlock a file (or create it)
Awesome, your file is now decrypted, you can inspect its content easily.
Encrypt Directory using gpg
In some cases, you may be interested in encrypting a whole directory, containing a lot of files.
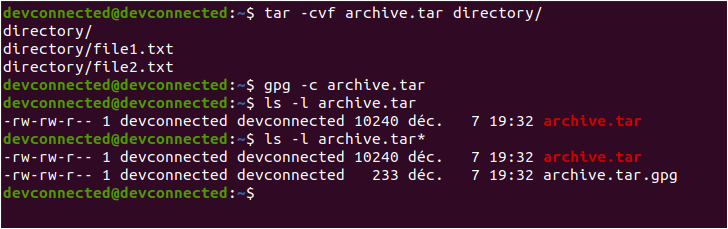
In order to achieve that, you are going to create an archive first and encrypt it later on.
To create an archive, use the “tar” command along with the “-cvf” options that stand for “create a file in verbose mode”. Now that your archive is created, you can encrypt it using the “gpg” command with the “-c” option.
$ tar -cvf archive.tar <directory>

$ gpg -c archive.tar
Again, you might be prompted for a specific passphrase that you will have to remember.
Congratulations, you successfully encrypted a directory using the tar and gpg commands!
Encrypt Directory using zip
In order to encrypt a file using zip, use the “zip” command with the “–encrypt” option and provide the zip name as well as the files to be encrypted.
$ zip -r --encrypt secure.zip <directory>

$ zip --encrypt secure.zip <file>...<file10>

Awesome, you have successfully created an encrypted zip archive!
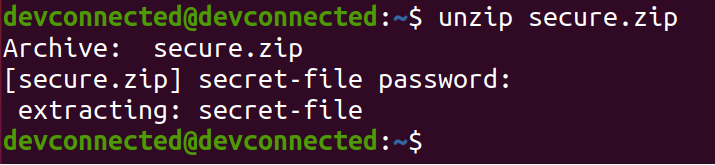
To open your encrypted archive, you can simply use the “unzip” command and provide the password you just used.
Encrypt Files using private key
As explained in other tutorials, generating key pairs (a public key and a private key) remain a very efficient way of preventing people from accessing your files.
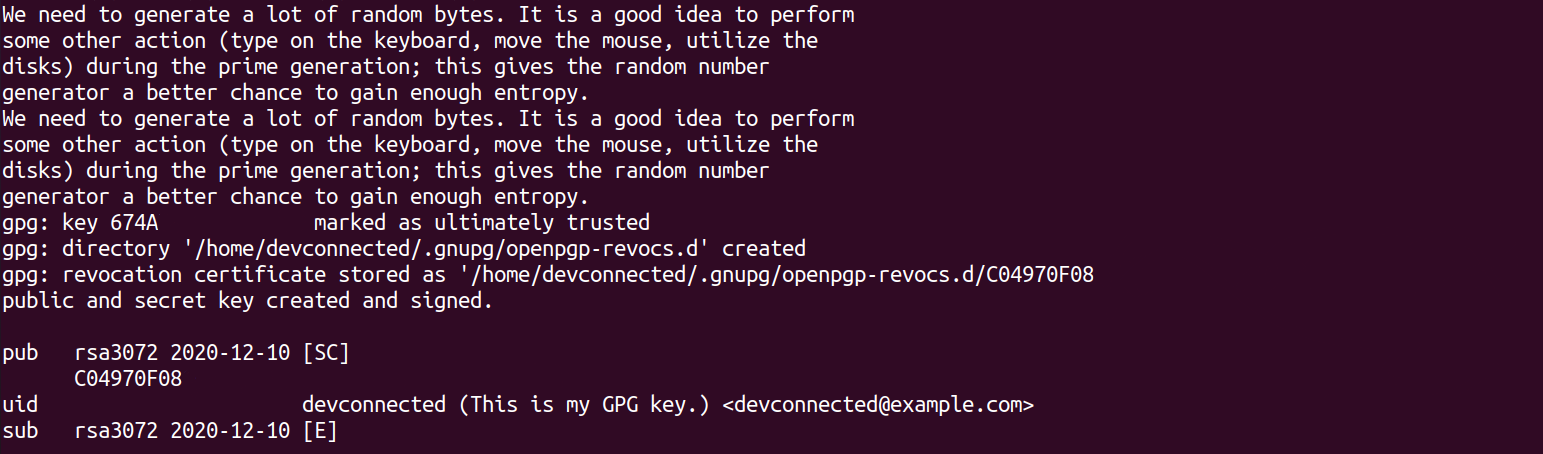
To encrypt files on Linux using a private key, you have to execute the “gpg” command with the “–full-gen-key” option. You have multiple options for key generation (such as “–quick-generate-key”) but the full one gives you more options.
$ gpg --full-gen-key
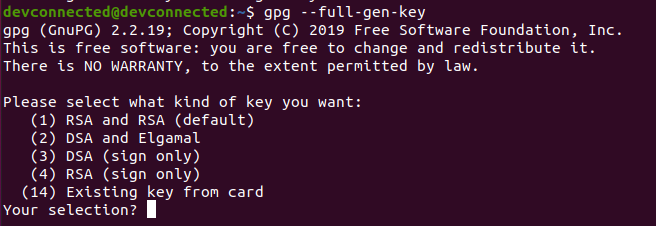
By default, the GPG utility will ask you a couple of questions. First, it wants you to choose an encryption method for your key.
We are going to choose “RSA” as it can be trusted as one of the best encryption methods available.

On the next step, you are asked for the size of the key that you want, we are going to remain with the defaults one and press Enter.
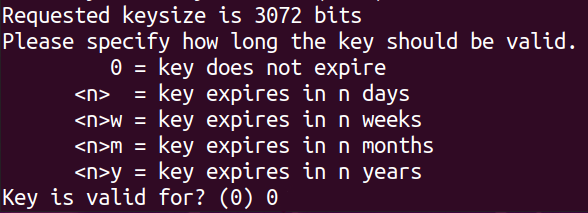
Finally, you are asked if you want to configure an expiration for the key that you are going to create. In this case, we want to use the same key forever, so you can choose the “0” option.
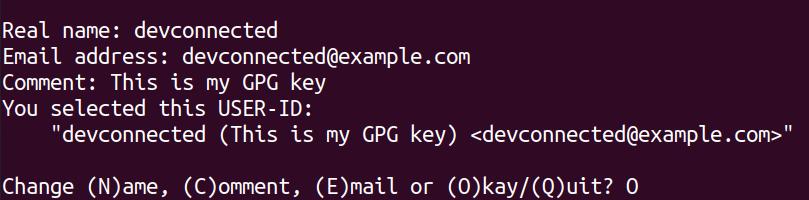
Now that you specified the key parameters, you are going to provide your name, your email address as well as a comment that is describing your key.
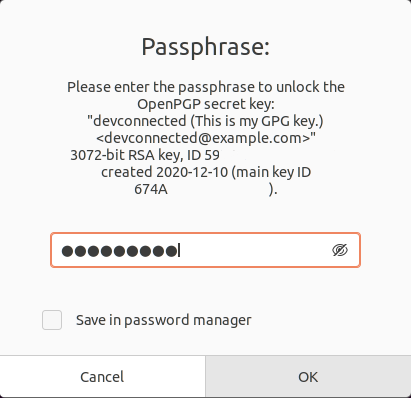
If everything is okay, you can press “O” and proceed to choose a passphrase.
So why would you need a passphrase? A passphrase is used in order to protect your key from being stolen. Having a key alone is not enough, not that it could be brute-forced, but somebody could steal your key and use it to decrypt your files. A passphrase prevents this operation.
Congratulations, you successfully created your set of keys for encryption, you can now use them in order to encrypt your files.
To encrypt your file using your created key, you have to use the “gpg” command with the “-e” option for “encrypt” and specify the key to be used with the “–recipient” option.
$ gpg -e --recipient <email or name> <file>
In this case, we used the “devconnected” name along with the “devconnected@example.com” email address. To encrypt the file, we are going to execute the following command :
$ gpg -e --recipient devconnected@example.com

Awesome, you have successfully encrypted your file using your key!
Decrypt File using key
In order to decrypt the file you just encrypted using your key, you have to use the “gpg” command with the “-d” option for decrypt.
$ gpg -d <file>.gpgIn this case, you will be prompted with a window that contains many more information, more specifically the key used.
When providing the correct passphrase, you will be able to decrypt your file, great!

Encrypt Files using Nautilus GUI
If you are not into using the terminal, you might want to have a beautiful GUI in order to encrypt your files.
To encrypt using a graphical interface, you are going to use the “Nautilus” file manager along with the “seahorse-nautilus” extension. This extension brings GPG features right into your graphical file explorer.
$ sudo apt-get install nautilus

$ sudo apt-get install seahorse-nautilus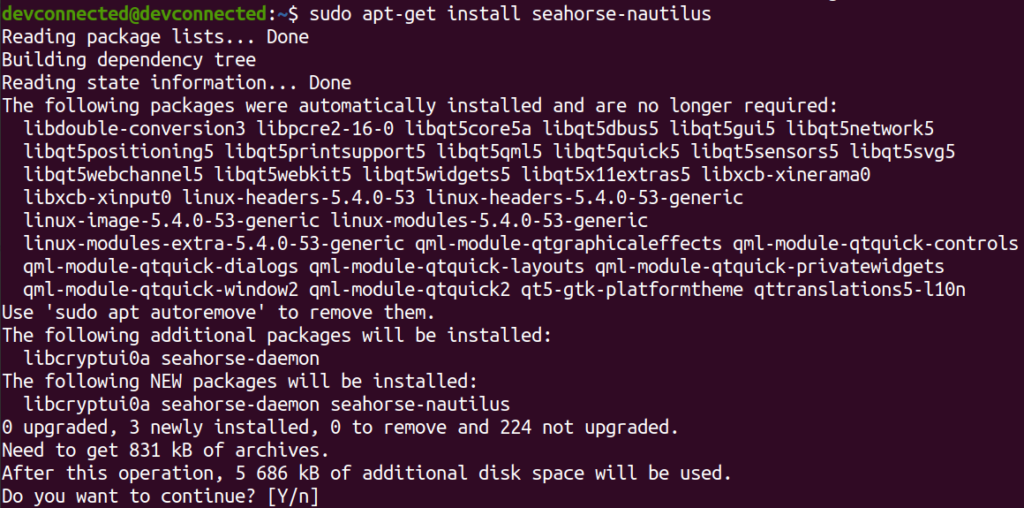
When you are done, restart Nautilus by using the “nautilus” command with the “-q” option for “quit”.
$ nautilus -q
Open Nautilus again, using the command line or your left vertical bar, and right click on a file to see the “Encrypt” option.
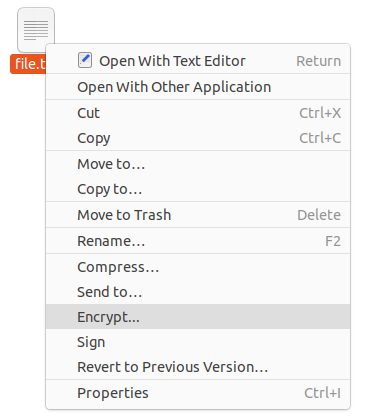
When clicking on “Encrypt“, you are asked if you want to choose a passphrase or if you want to encrypt the file using a key.
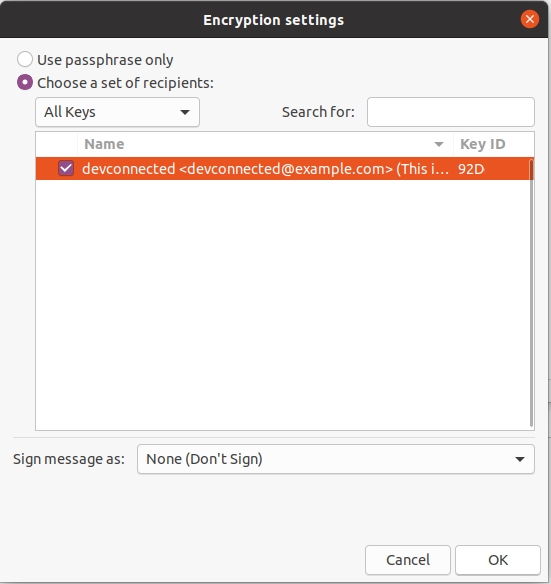
In this case, select the key that you created in the steps before, and click on “Ok” when you are done.
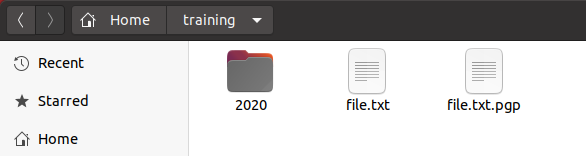
That’s it! You now have an encrypted version of your file.
But did you know that you could decrypt your file using a GUI interface also?
Decrypt using GUI Interface
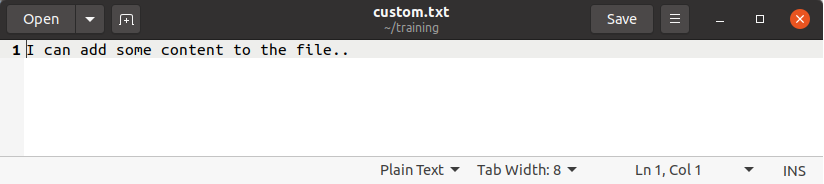
In order to decrypt your file, you can simply double-click or right-click and select the “Open with Decrypt File”.
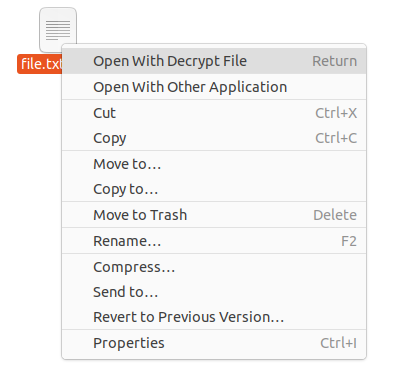
By using this option, you will be asked the name of the file to be created when decrypting the file. In this case we are going to choose file named “custom.txt”

When clicking on “Save“, you will be asked for the passphrase that you specified when creating your public key. Provide the specified passphrase and your file should be decrypted!
Conclusion
In this tutorial, you learnt how you can simply encrypt and decrypt a file on Linux using console line commands or GUI tools.
Encryption is a big part of security : if you are storing sensitive information on your computer or server, you should seriously think about encryption for your disks.
If you are interested in disk encryption, maybe you should take a look at the LUKS project that aims at providing a simple API for it.
If you are interested in Linux System Administration, we have a complete section dedicated to it on the website, so make sure to check it out!